Overview
We've made it easy to get up and running with a donation form on your nonprofit website with code snippets that you can drop into your website. Follow the guides below to launch your fundraising page in just a few minutes.
For our donation popup to work with Wix, you must have a premium account (any tier will do). You must also be have a custom domain connected. To set this up, follow the Wix docs
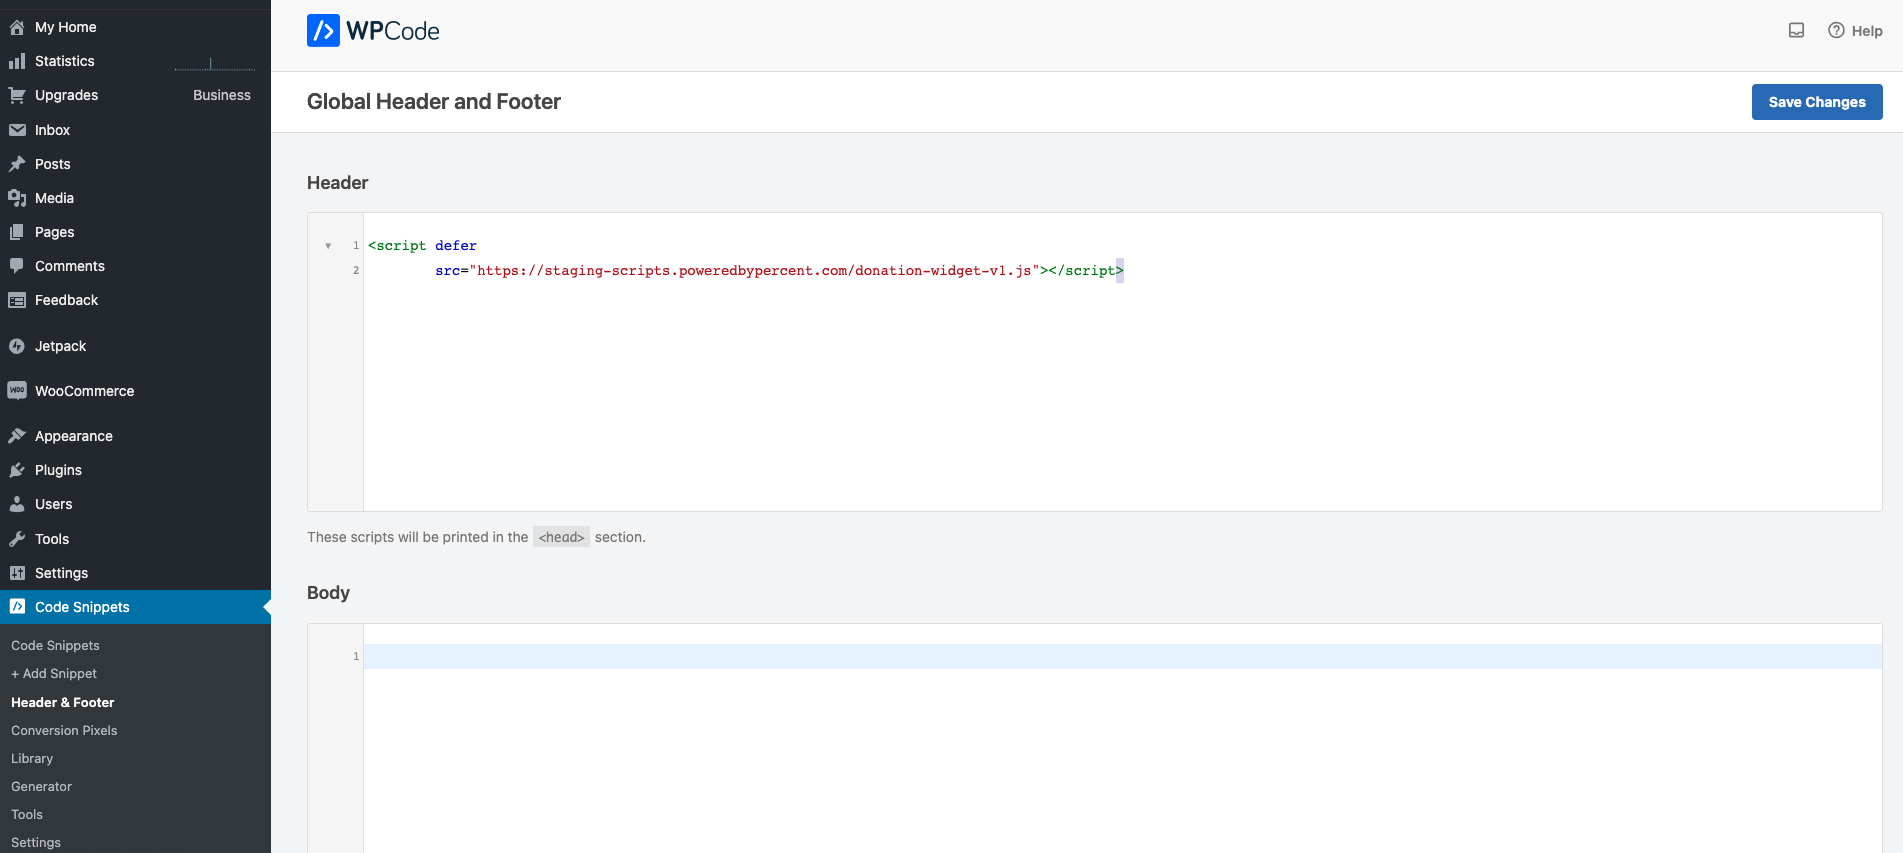
To use our donation form widget, you'll need to load a JavaScript library. You can do that using the code snippet below (also available in your Causes Portal account):
<script
  defer
  src="https://scripts.poweredbypercent.com/donation-widget-v1.js"
></script>
Add a donation button
- Log in to your Wix account. If you have multiple websites, you will need to navigate to the website you would like to edit.
- Under
Site & Appin the left hand menu, selectWebsiteand clickEdit Site
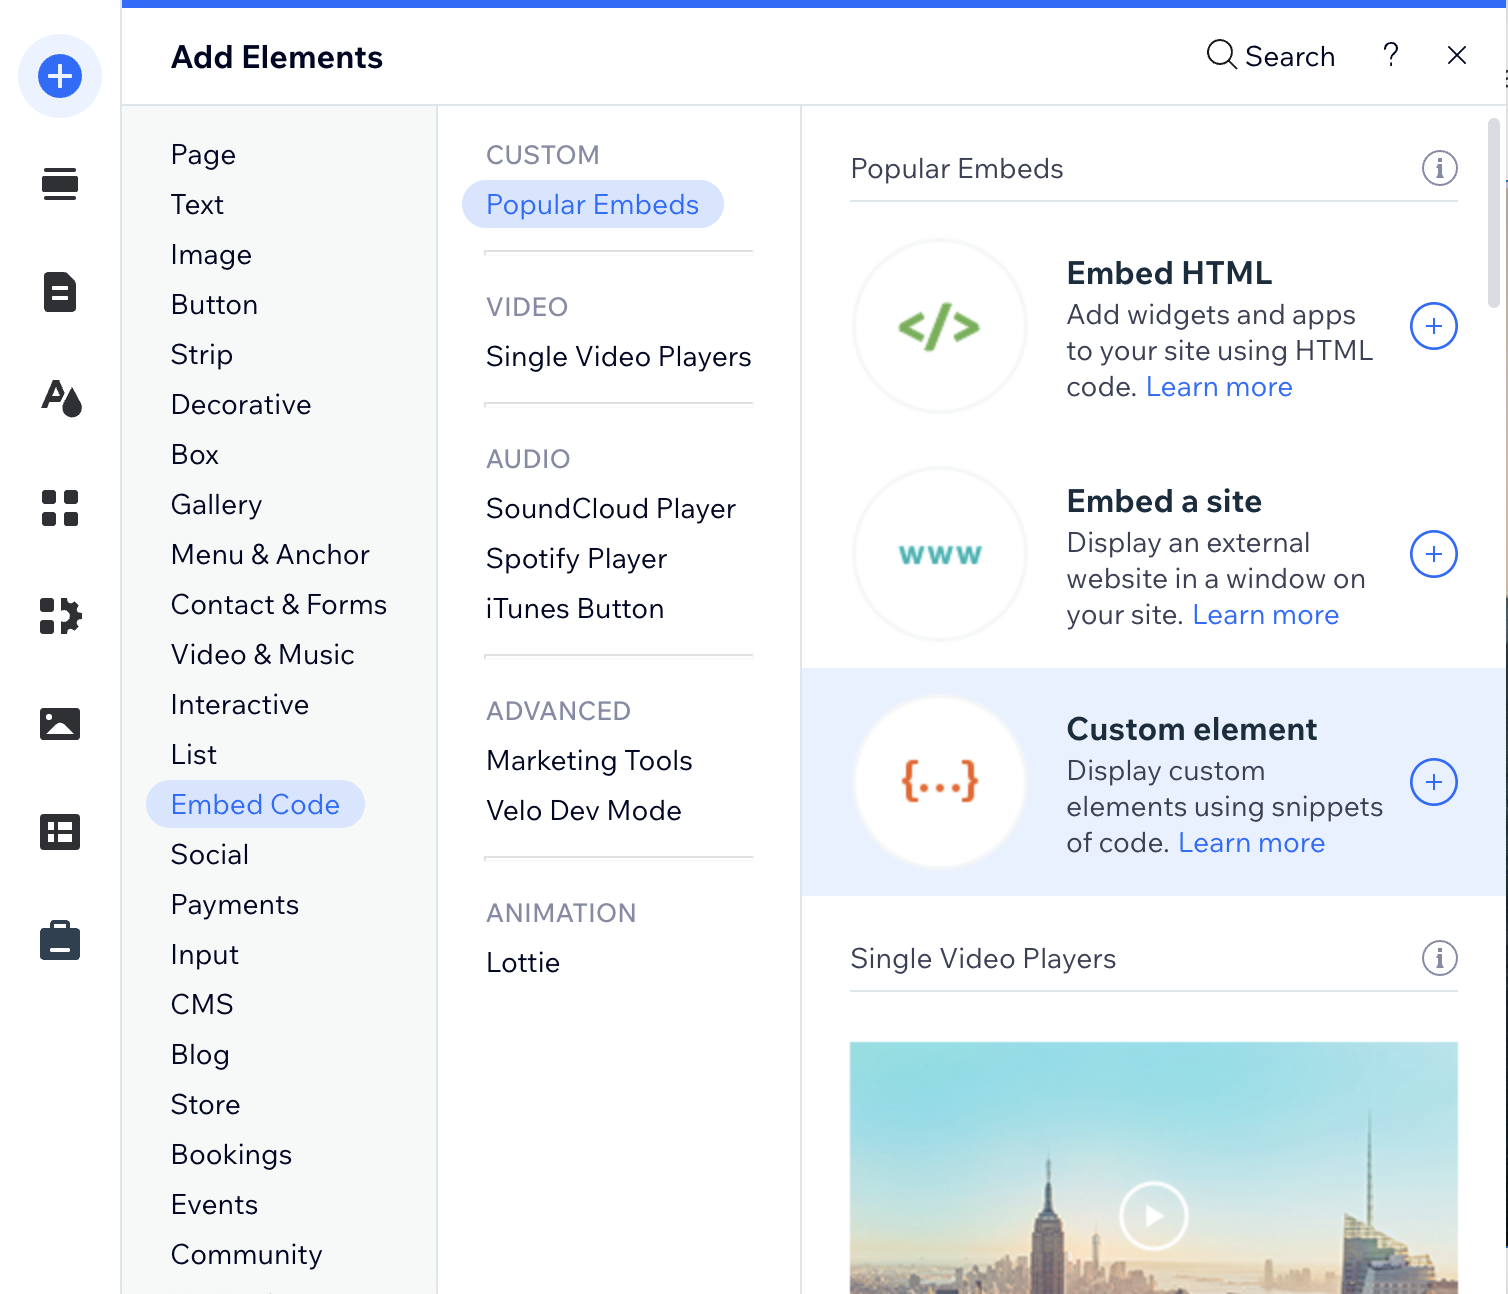
Add a custom element
- Select
Add Elements,Embed Codeand thenPopular Embeds - Select
Custom element
Set script link and tag name
After adding the element, select Choose Source.
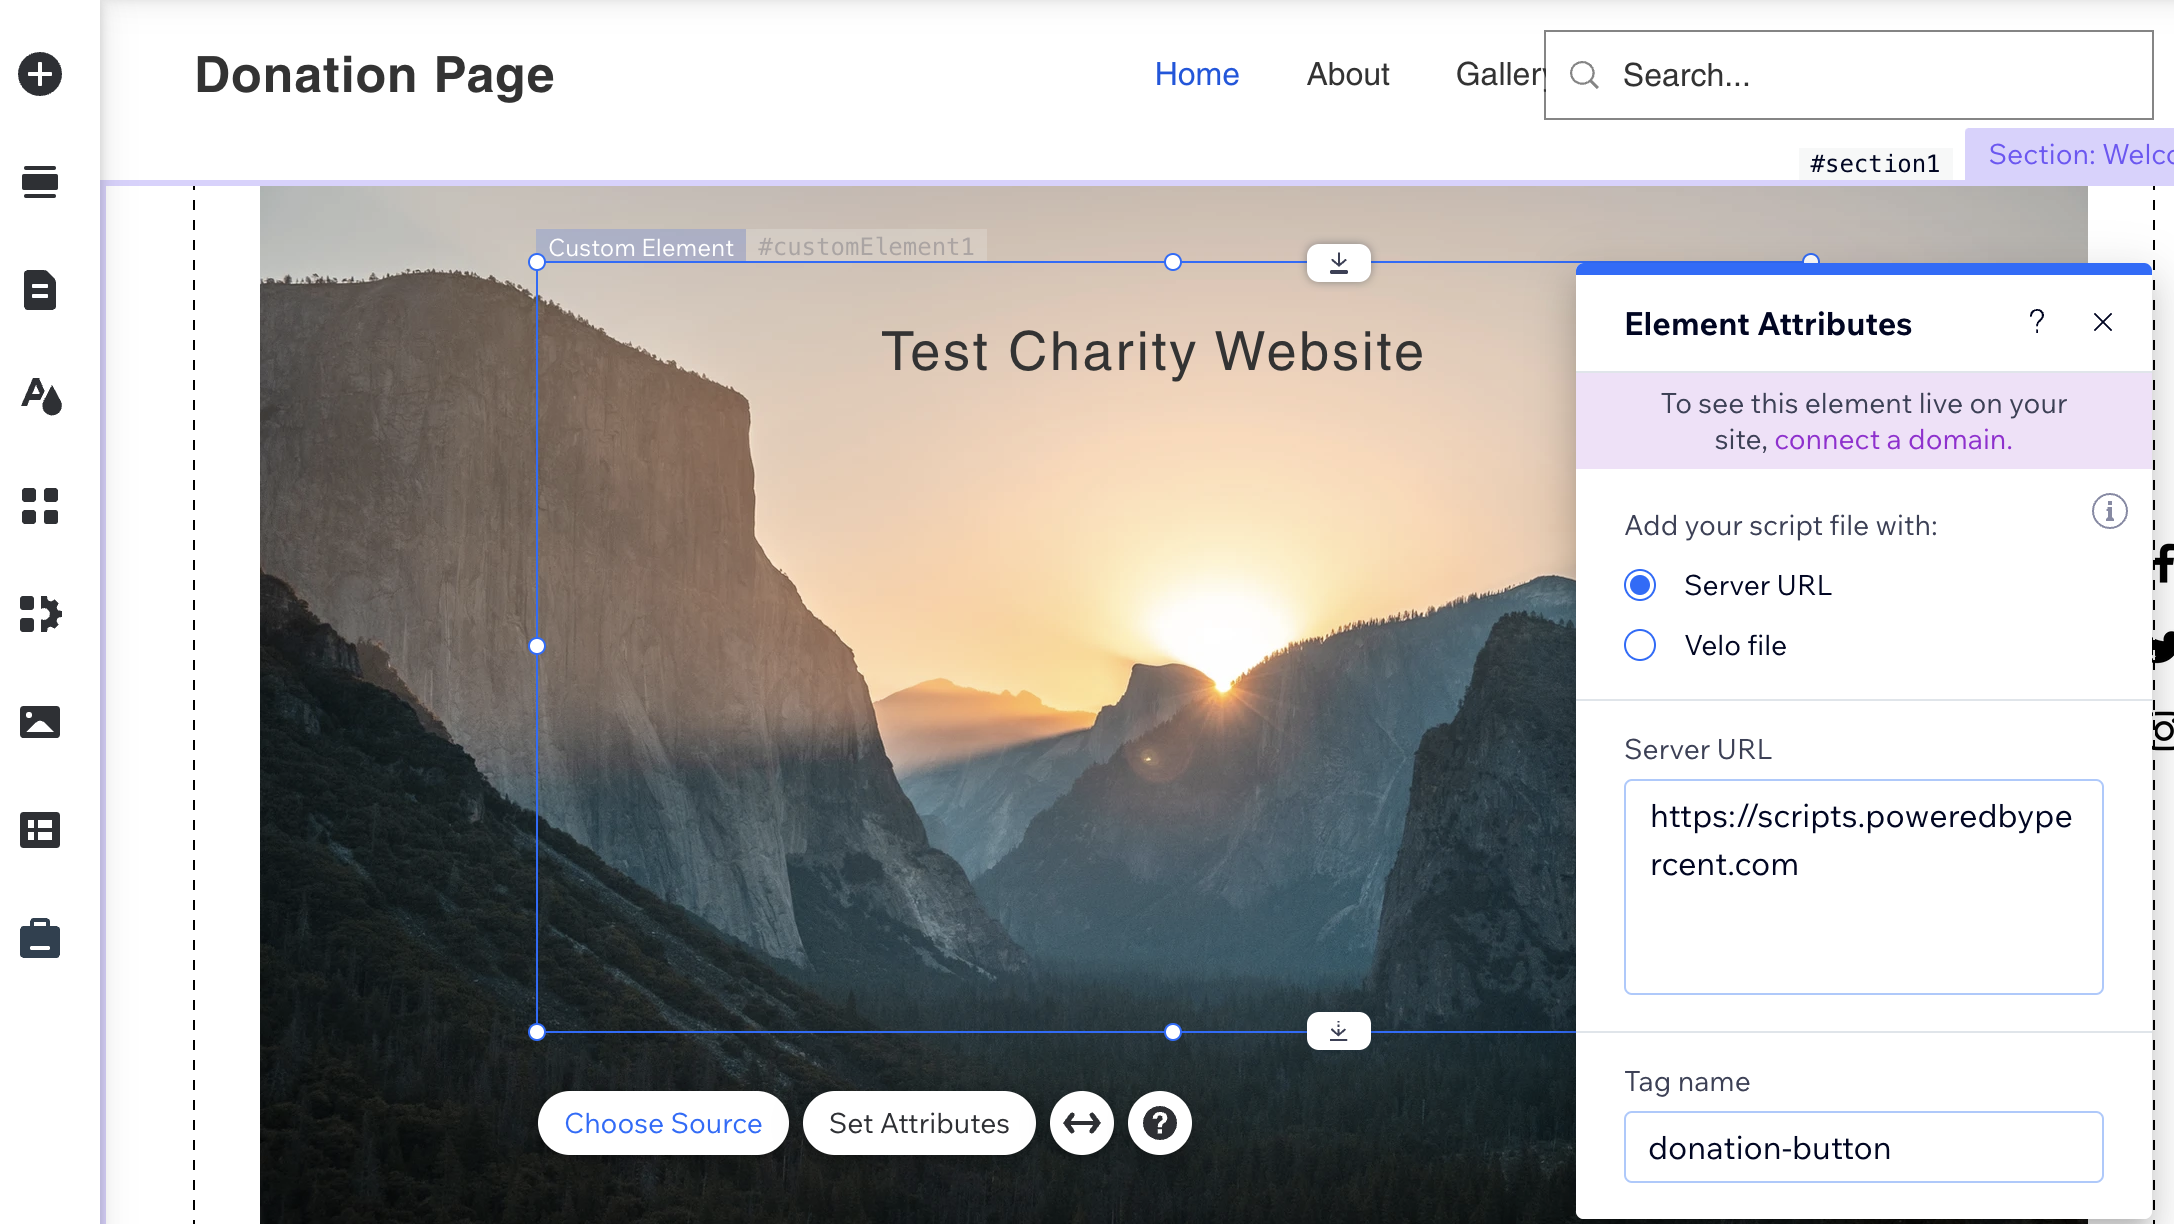
Choose the Server URL option and paste the URL below into the box:
https://scripts.poweredbypercent.com/donation-widget-v1.js
Set the Tag Name as donation-button and close the popup dialog. Your settings are saved automatically.
Set element ID attribute
Click the Set Attributes button on the page and then Set Attributes again on the popup dialog.
Set Attribute name to id and Value as pbp-donation-widget.
Set link ID and organisation ID attributes
In your Causes Portal account, find your code snippets in the Donation Form tab. In the second box, you should see:
<div
  id="pbp-donation-widget"
  data-link-id="your_link_id"
  data-organisation-id="your_organisation_id"
/>
You will need to copy the values for your_link_id and your_organisation_id that you see in your account for the next steps.
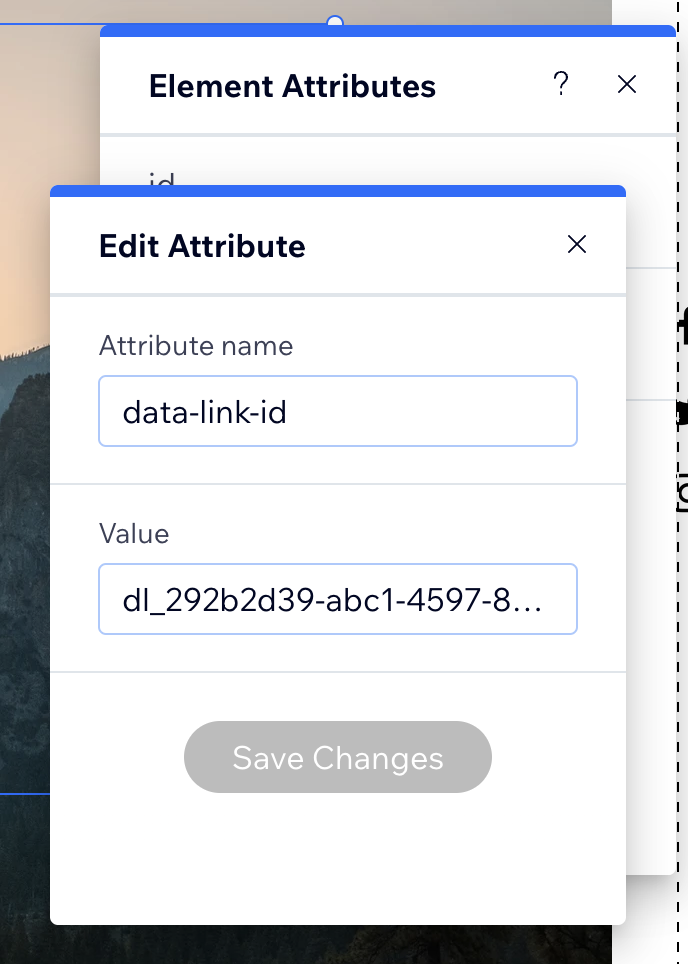
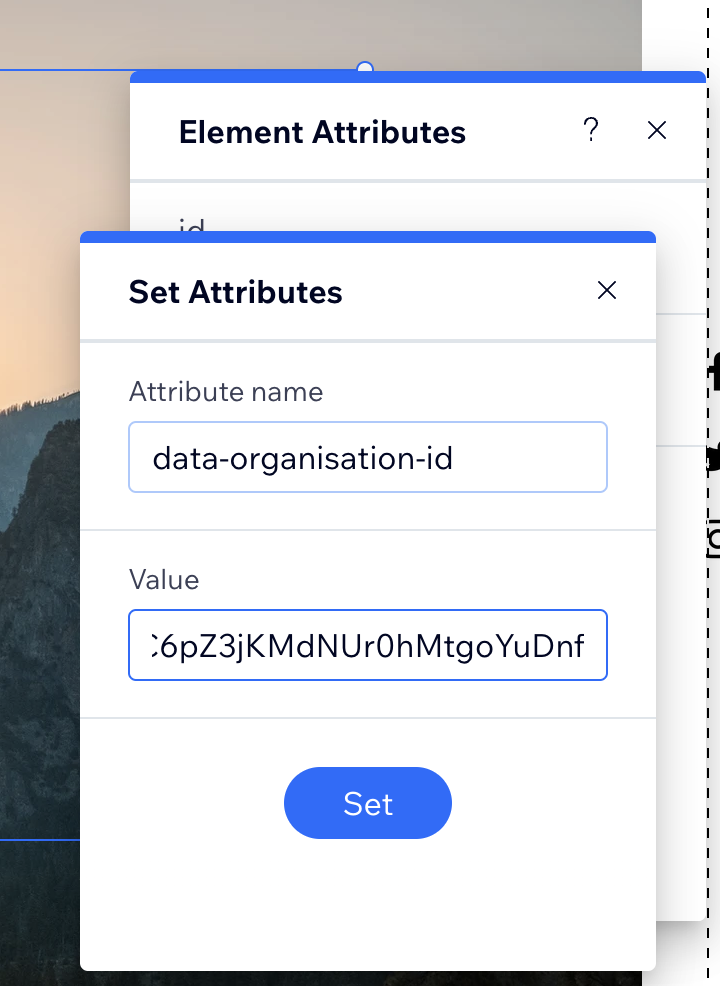
In your Wix builder, click New Attribute to create a new data attribute for each of the above values. Then fill in the fields:
- Attribute name:
data-link-id, Value - paste your link ID from the Causes Portal. - Attribute name:
data-organisation-id- paste your organisation ID from the Causes Portal.
Close the popup dialogs and the element should now show as a donate button.
Publish your site
Click Save and then Publish now to view your live site.
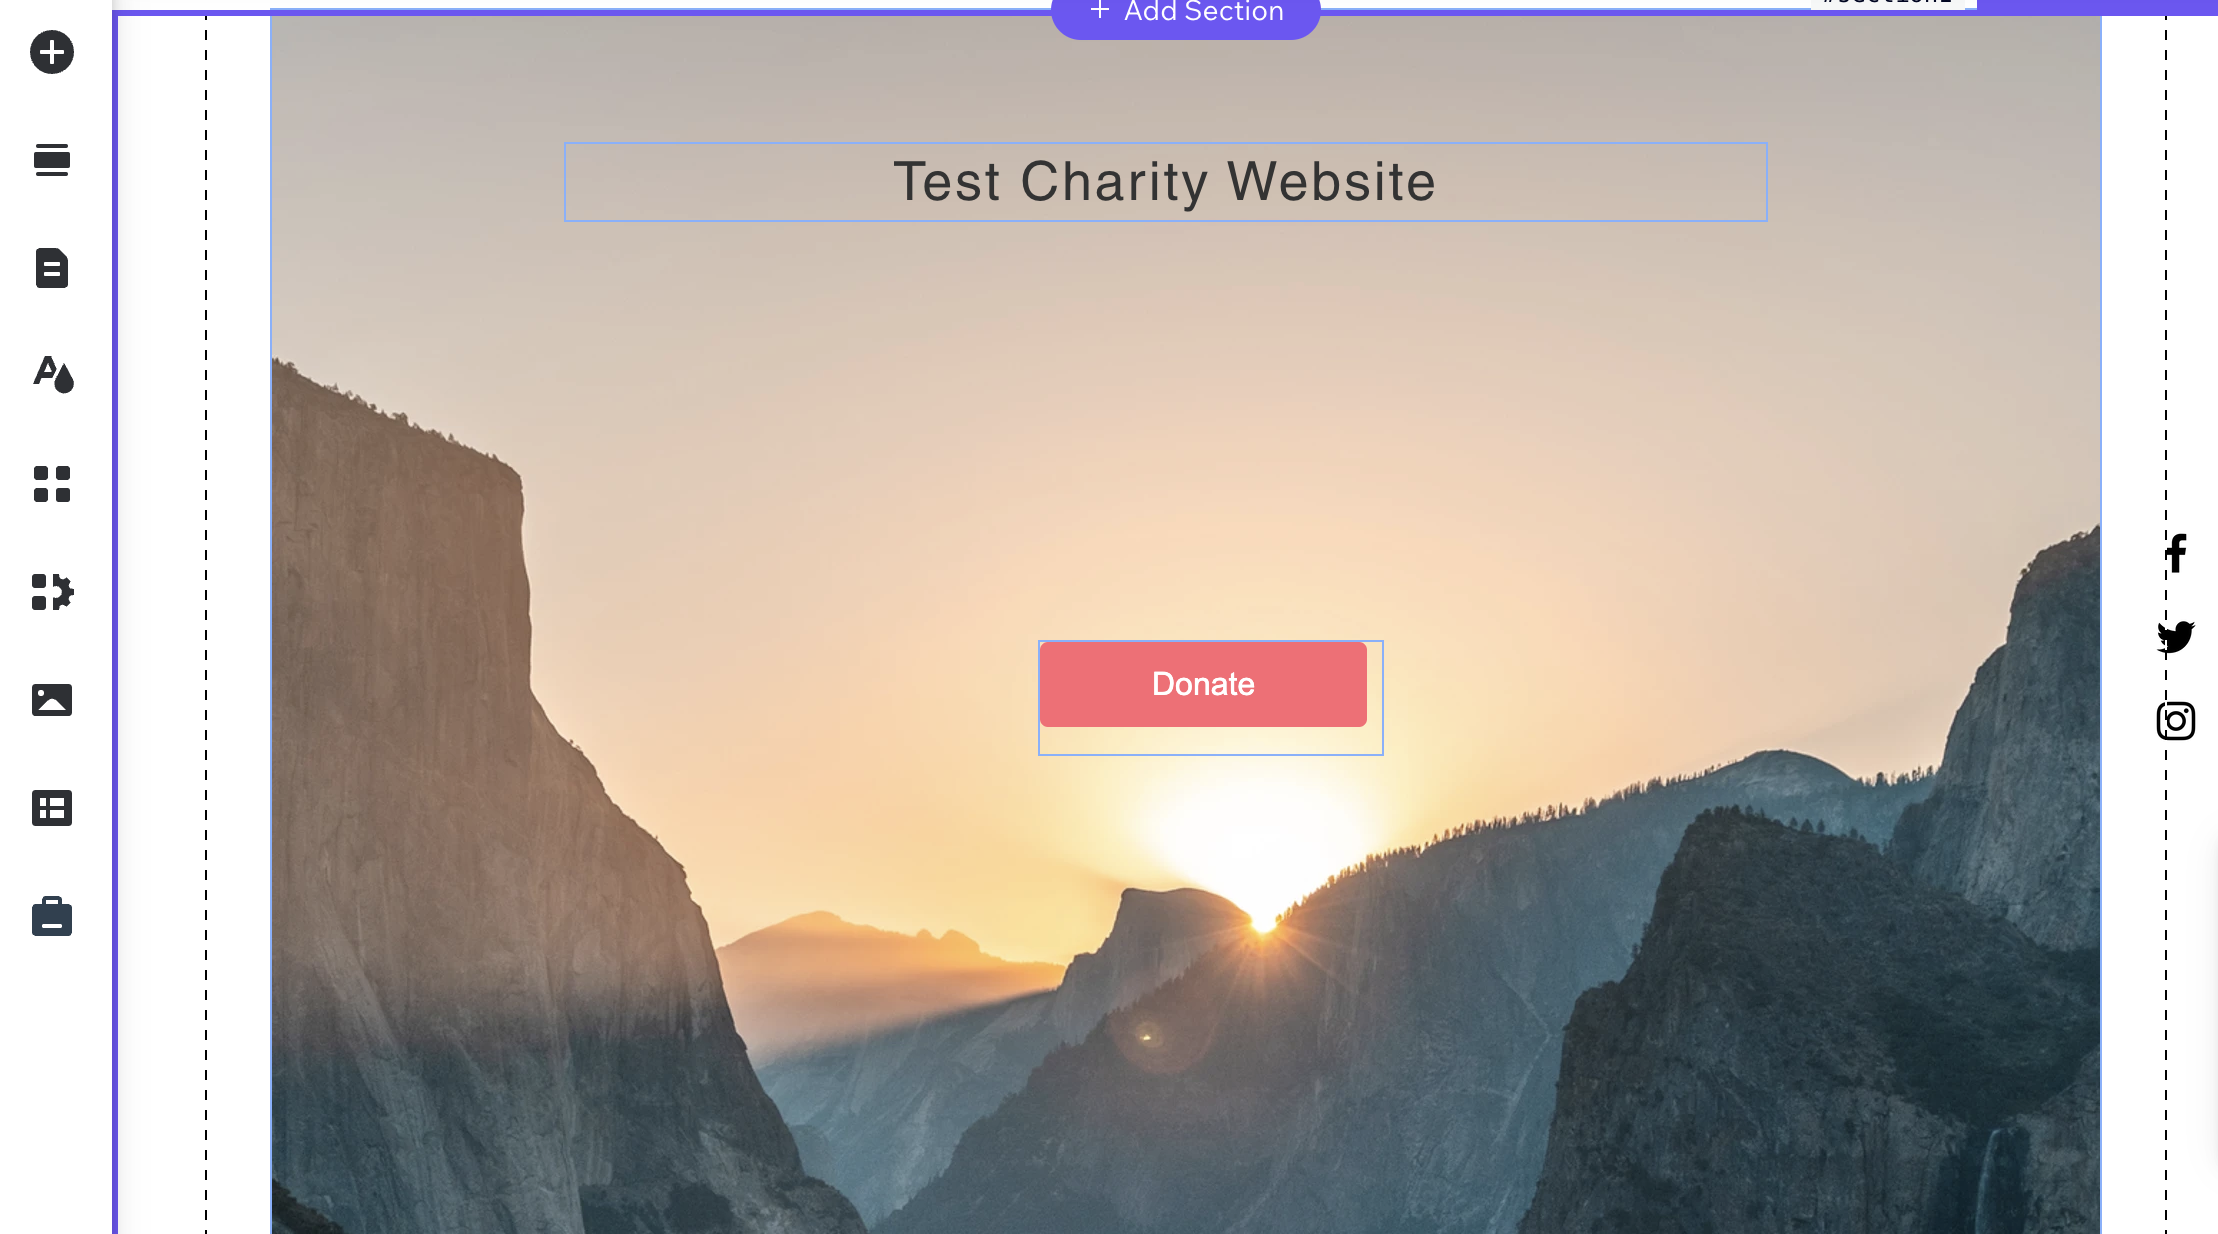
Note that the Wix site preview doesn’t load the modal properly. Don’t worry, it’s just the way the website builder works. When you load the website directly you should see everything work as expected.
Need help?
If you are stuck with any of these steps, please get in touch via our help center or send us an email at donations@goodstack.io.